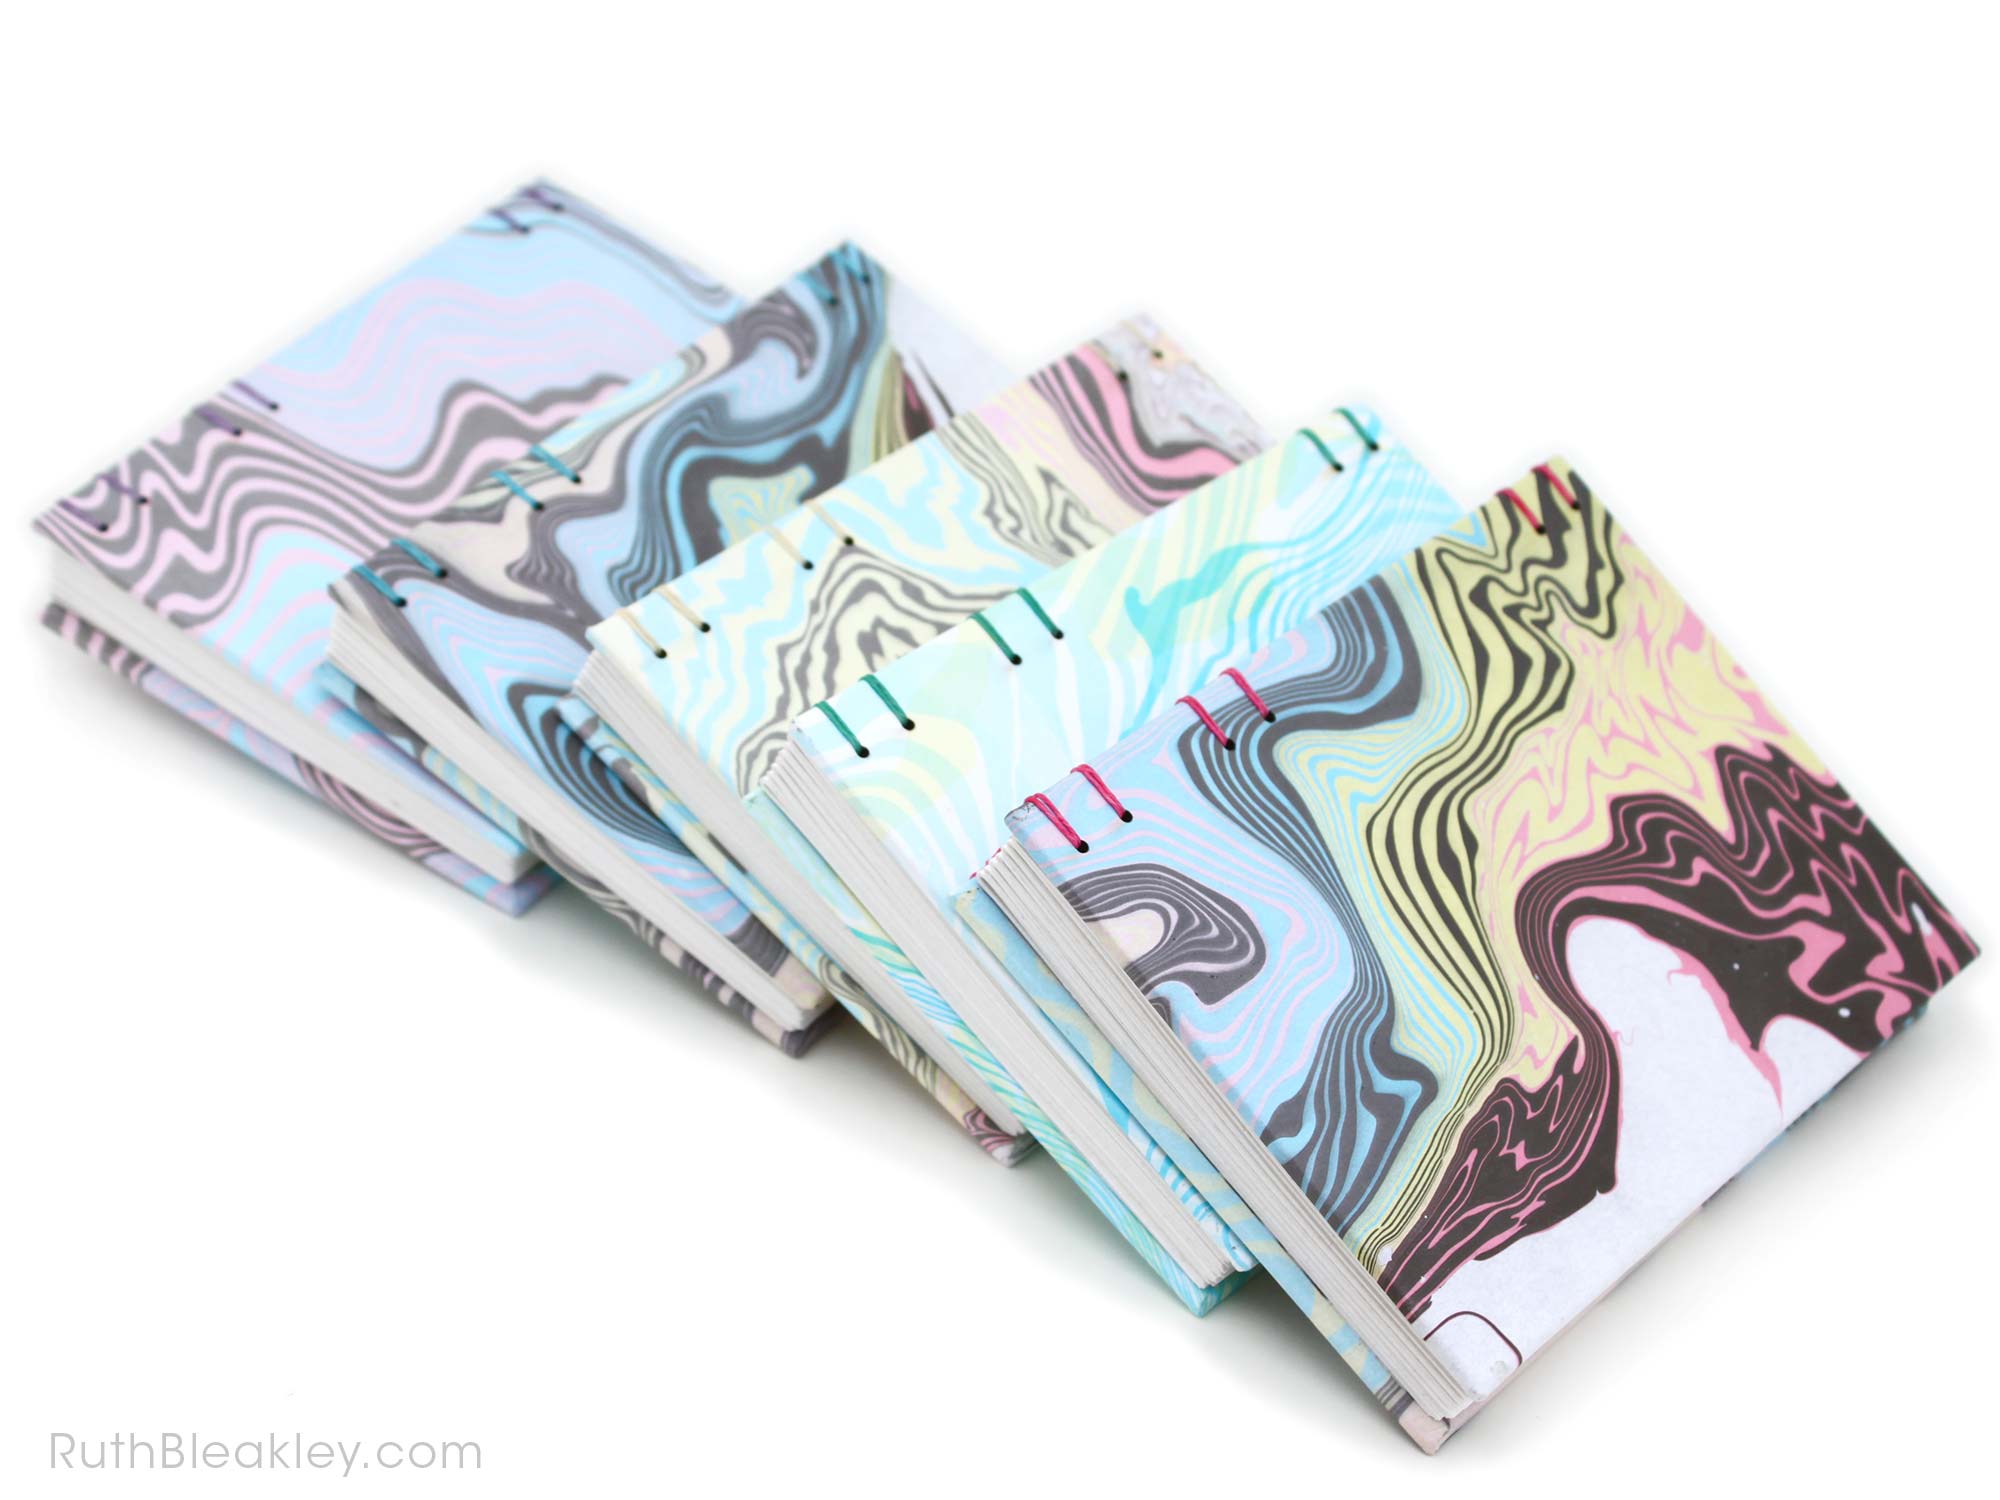
I want to show off some lovely pastel rainbow journals I made using Boko Undo Suminagashi inks (affiliate link) – and before you leave a comment, YES they are very light in color once they dry! If you are looking for bold, vibrant colorful marbled paper, you need to try a different style of marbling […]
Summertime memory: coming back from the beach during the heat of the day to eat ice cream sandwiches and watch “Saved By the Bell” reruns at my grandparent’s house. And now I live in the same house! But…no TV…and also I’m lactose intolerant now, so no ice cream. But hey, one out of three ain’t […]
Paper from West Palm Beach While I didn’t marble the paper on this book cover myself, I won’t forget where I bought it from. It was a hot afternoon in September and we were driving past West Palm Beach for a follow up appointment for my husband’s Lasik eye surgery. We planned to stop at […]
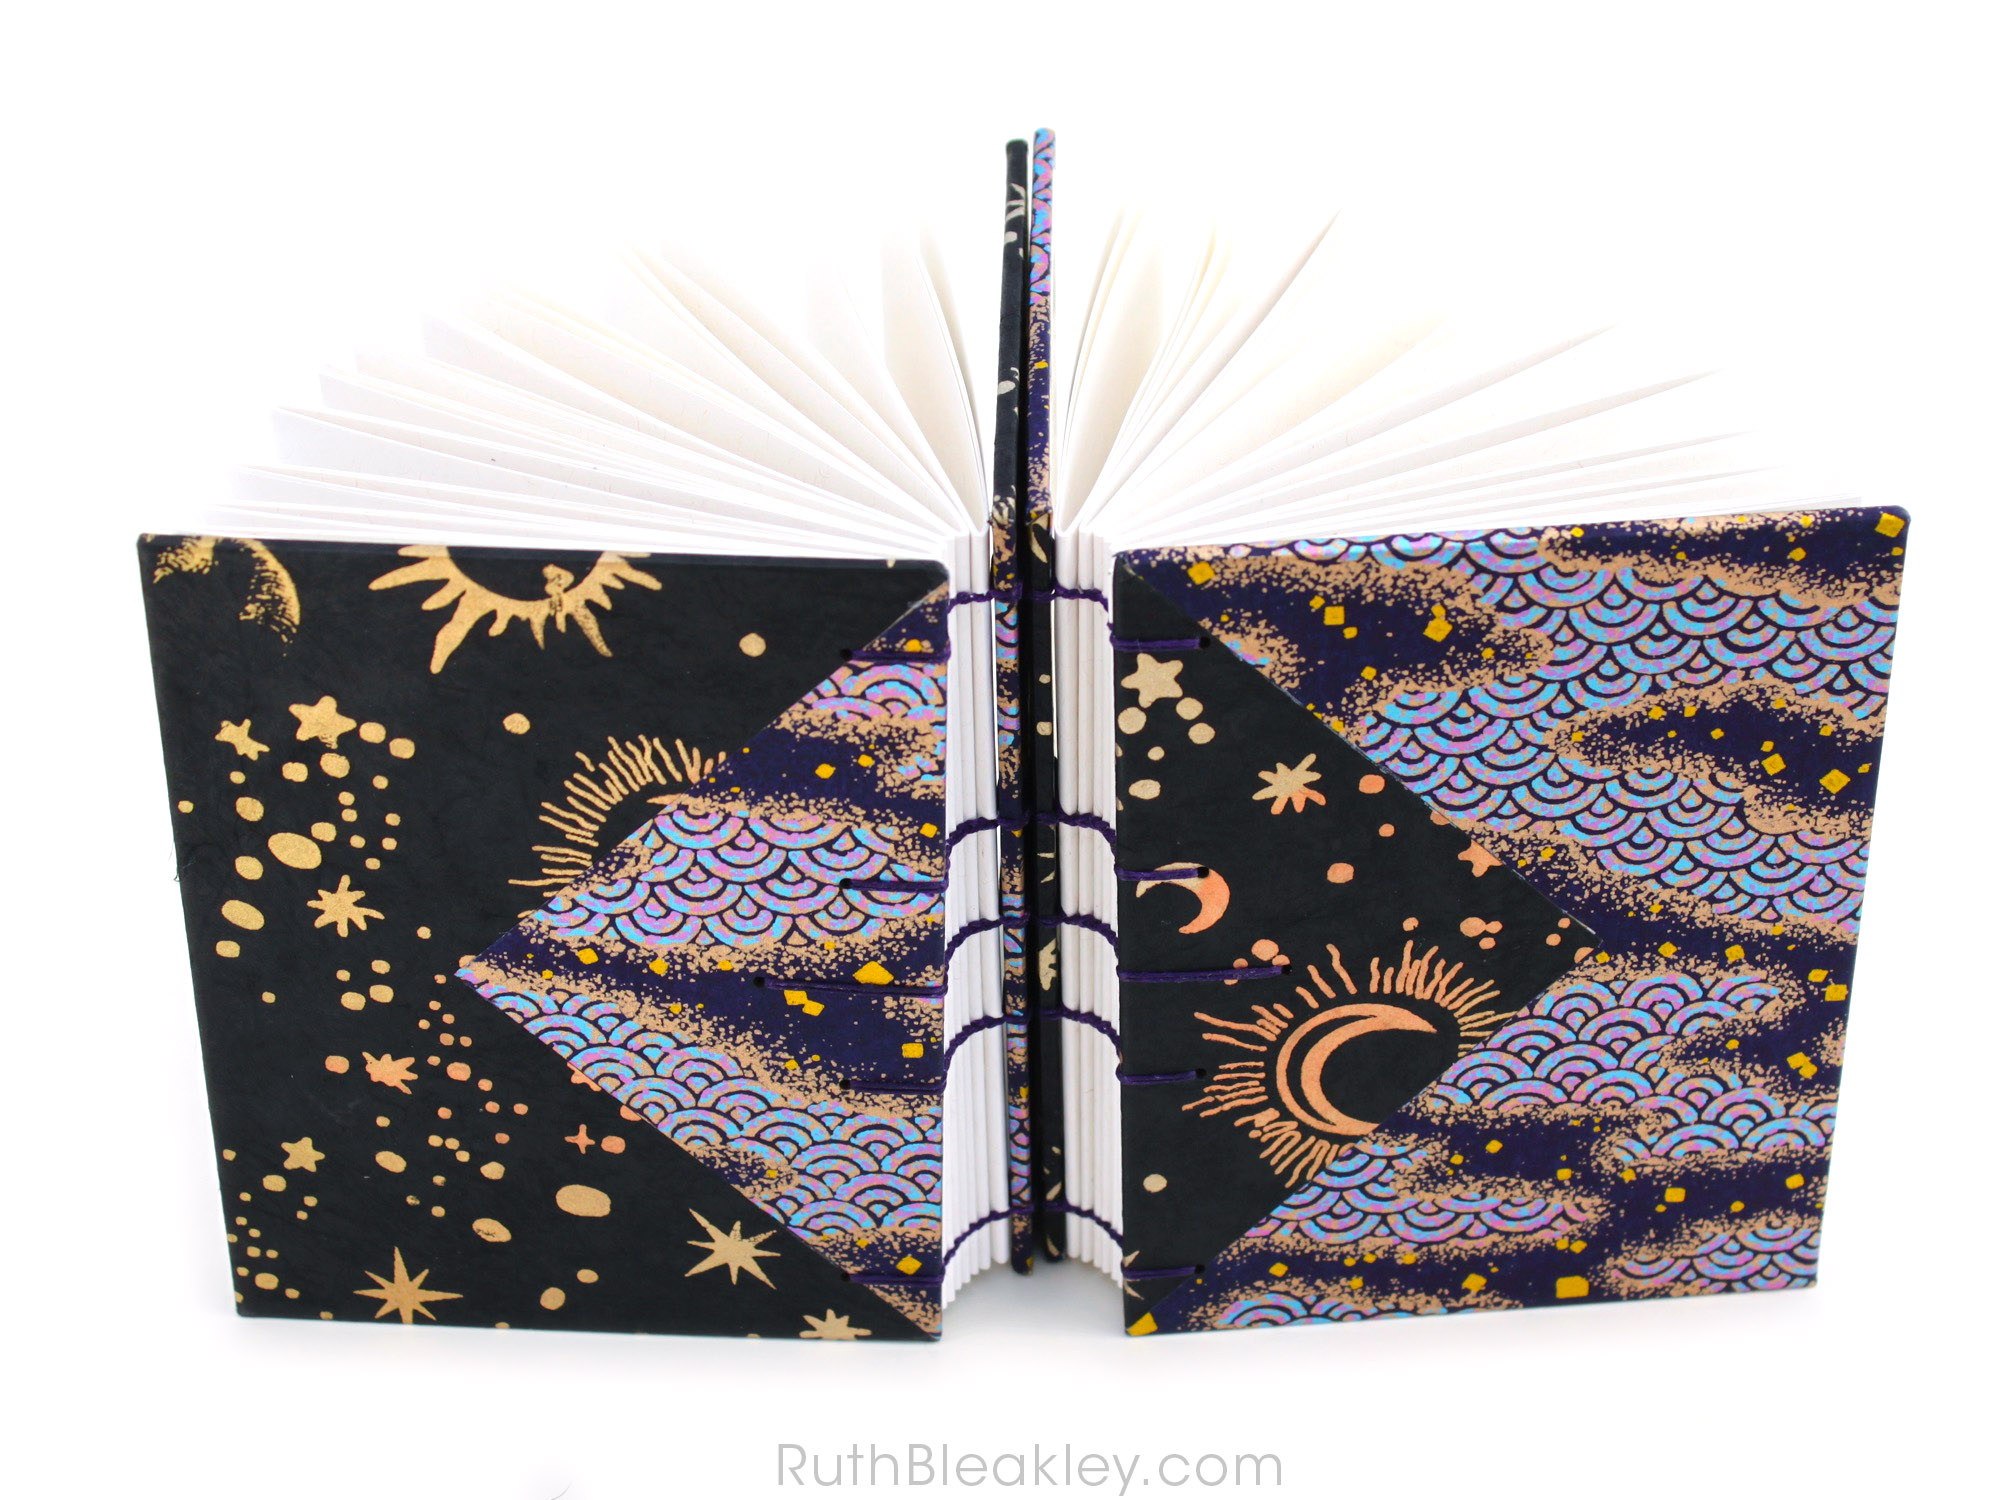
Inspiration strikes… The thing I love most about these journals is how well the two black and purple papers go together, even though I aquired them years apart. This is certainly a case of me being inspired by my materials. When I get stuck, or run out of bookbinding ideas, a quick trip to (one […]
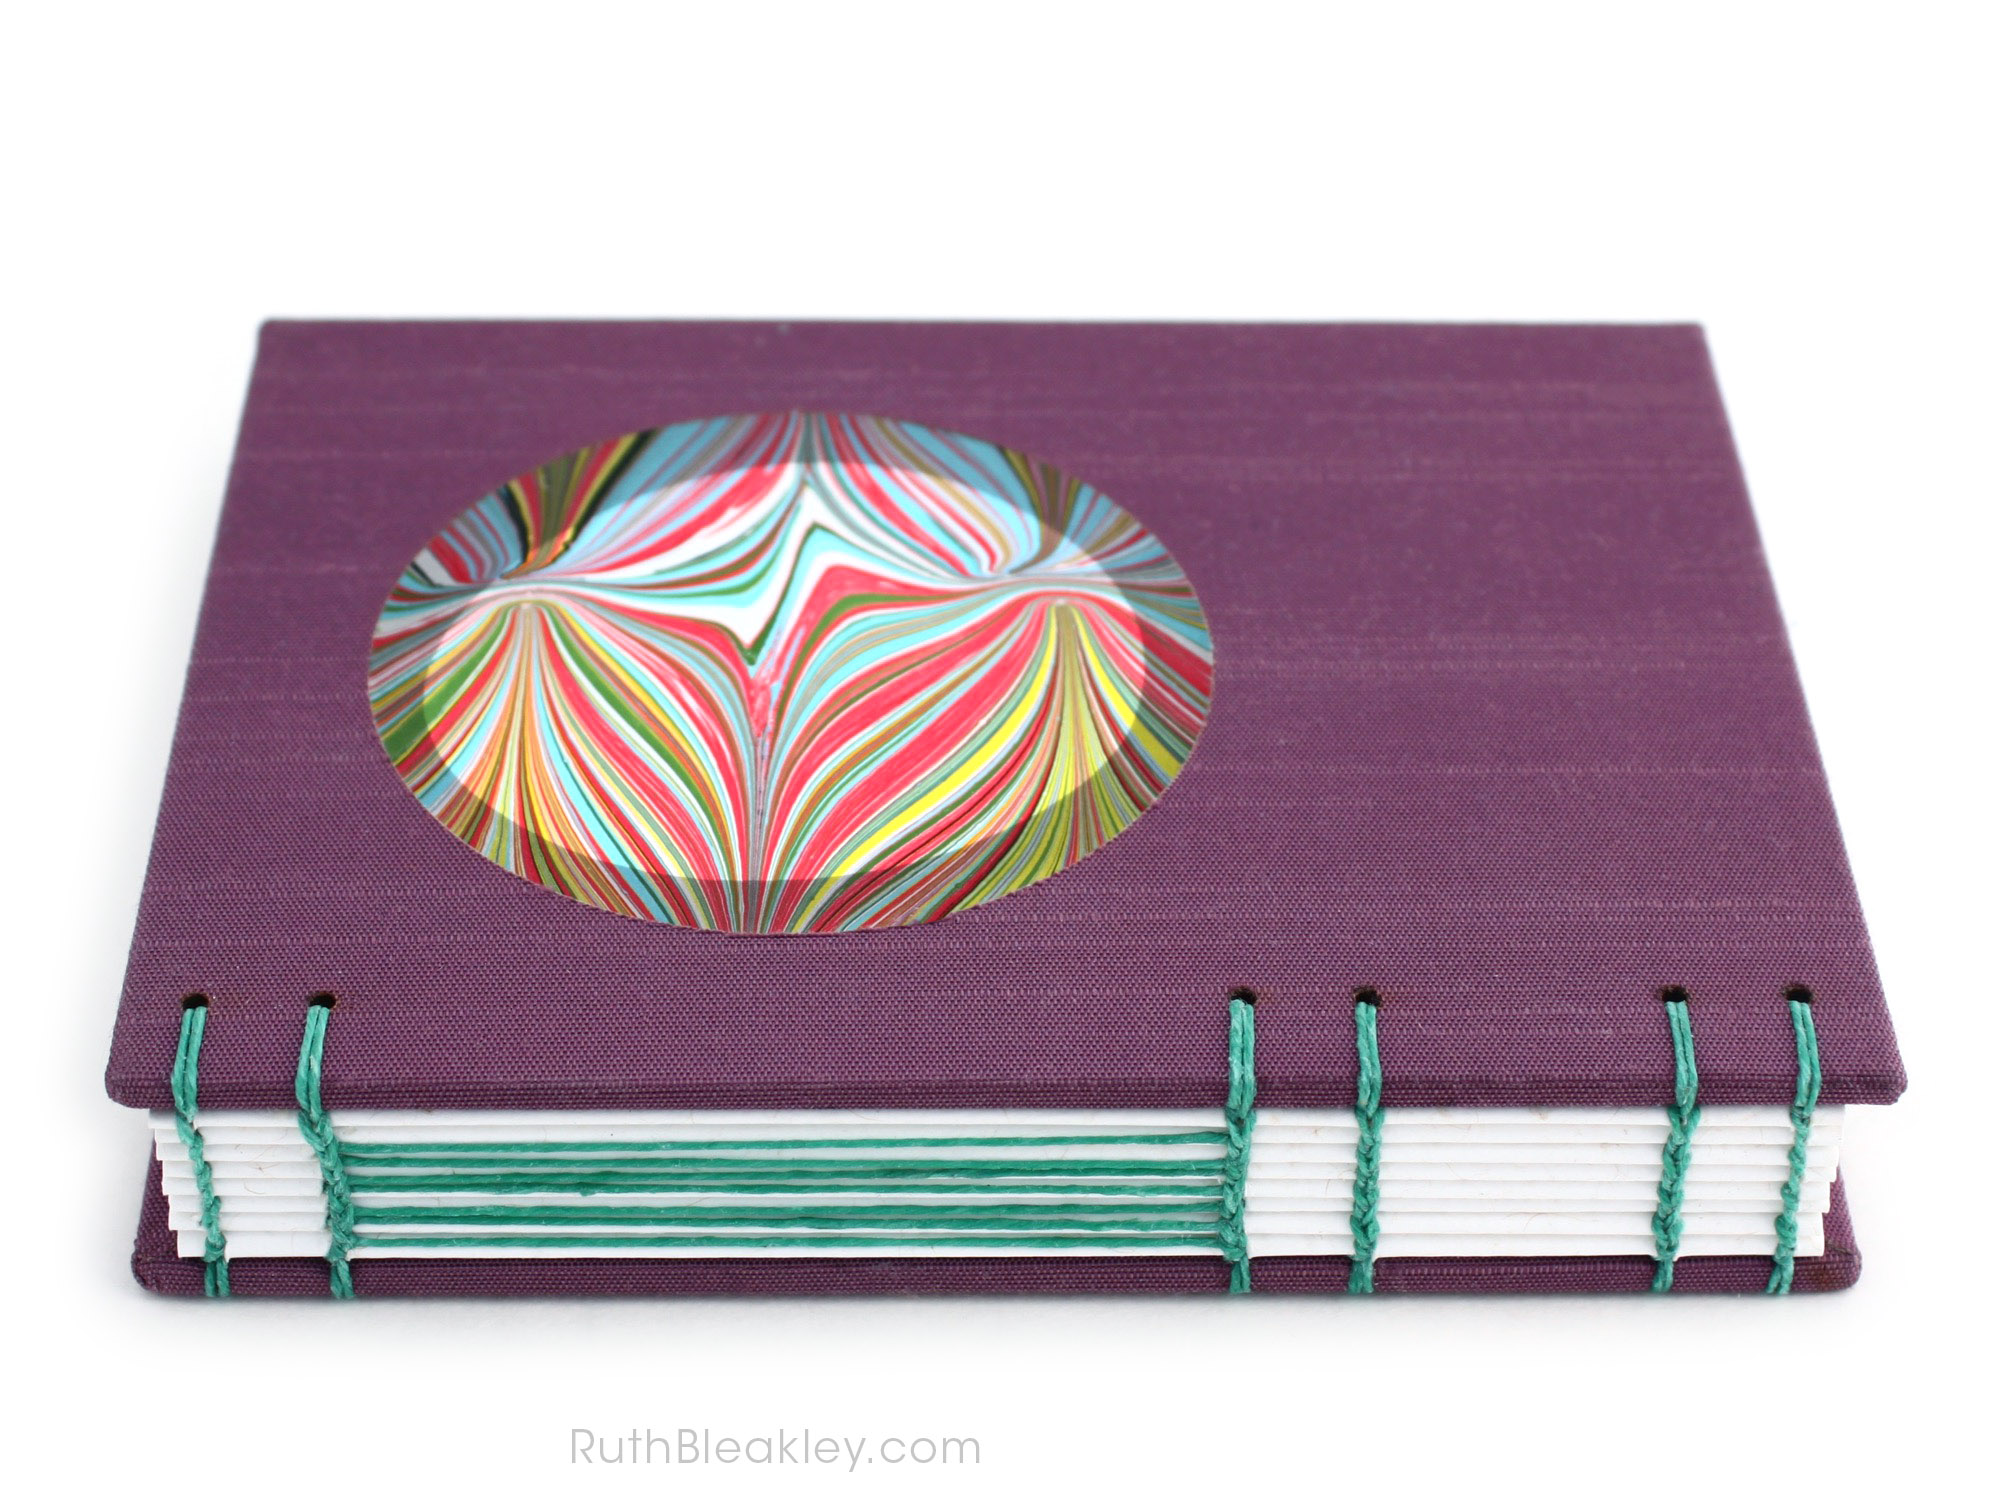
I’m so excited to unveil a new style of handmade artist book. It features a luxurious Japanese silk book cloth cover, with precision circle inlay that features stunning, one-of-a-kind marbled paper. I like the idea of a book containing a hidden surprise, so I used the same beautiful paper for the inside endpapers as well. […]
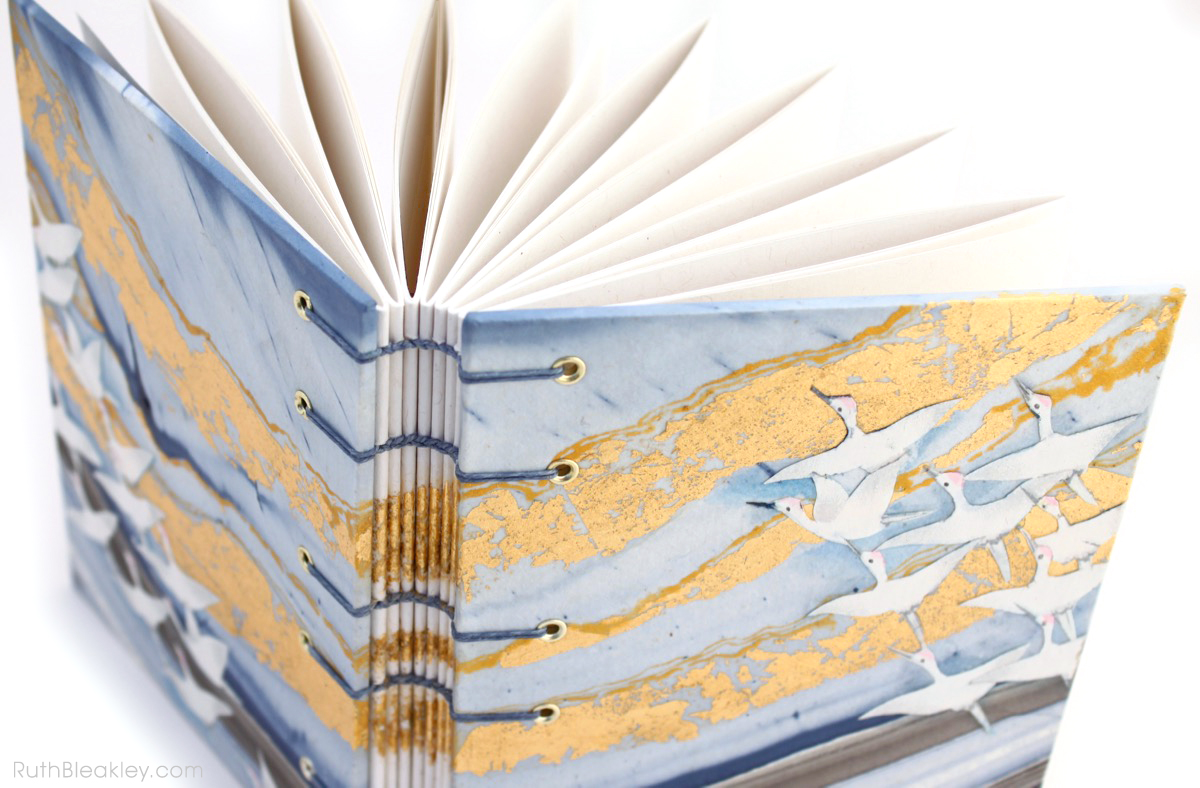
This is a very special journal I made all in one go. By that I mean, I was “in the crunch” for at least 8 hours putting the finishing touches on it, adding gold leaf, cutting out birds with an exacto knife, hand-painting in tiny bird beaks. Also somehow I managed to make it without […]
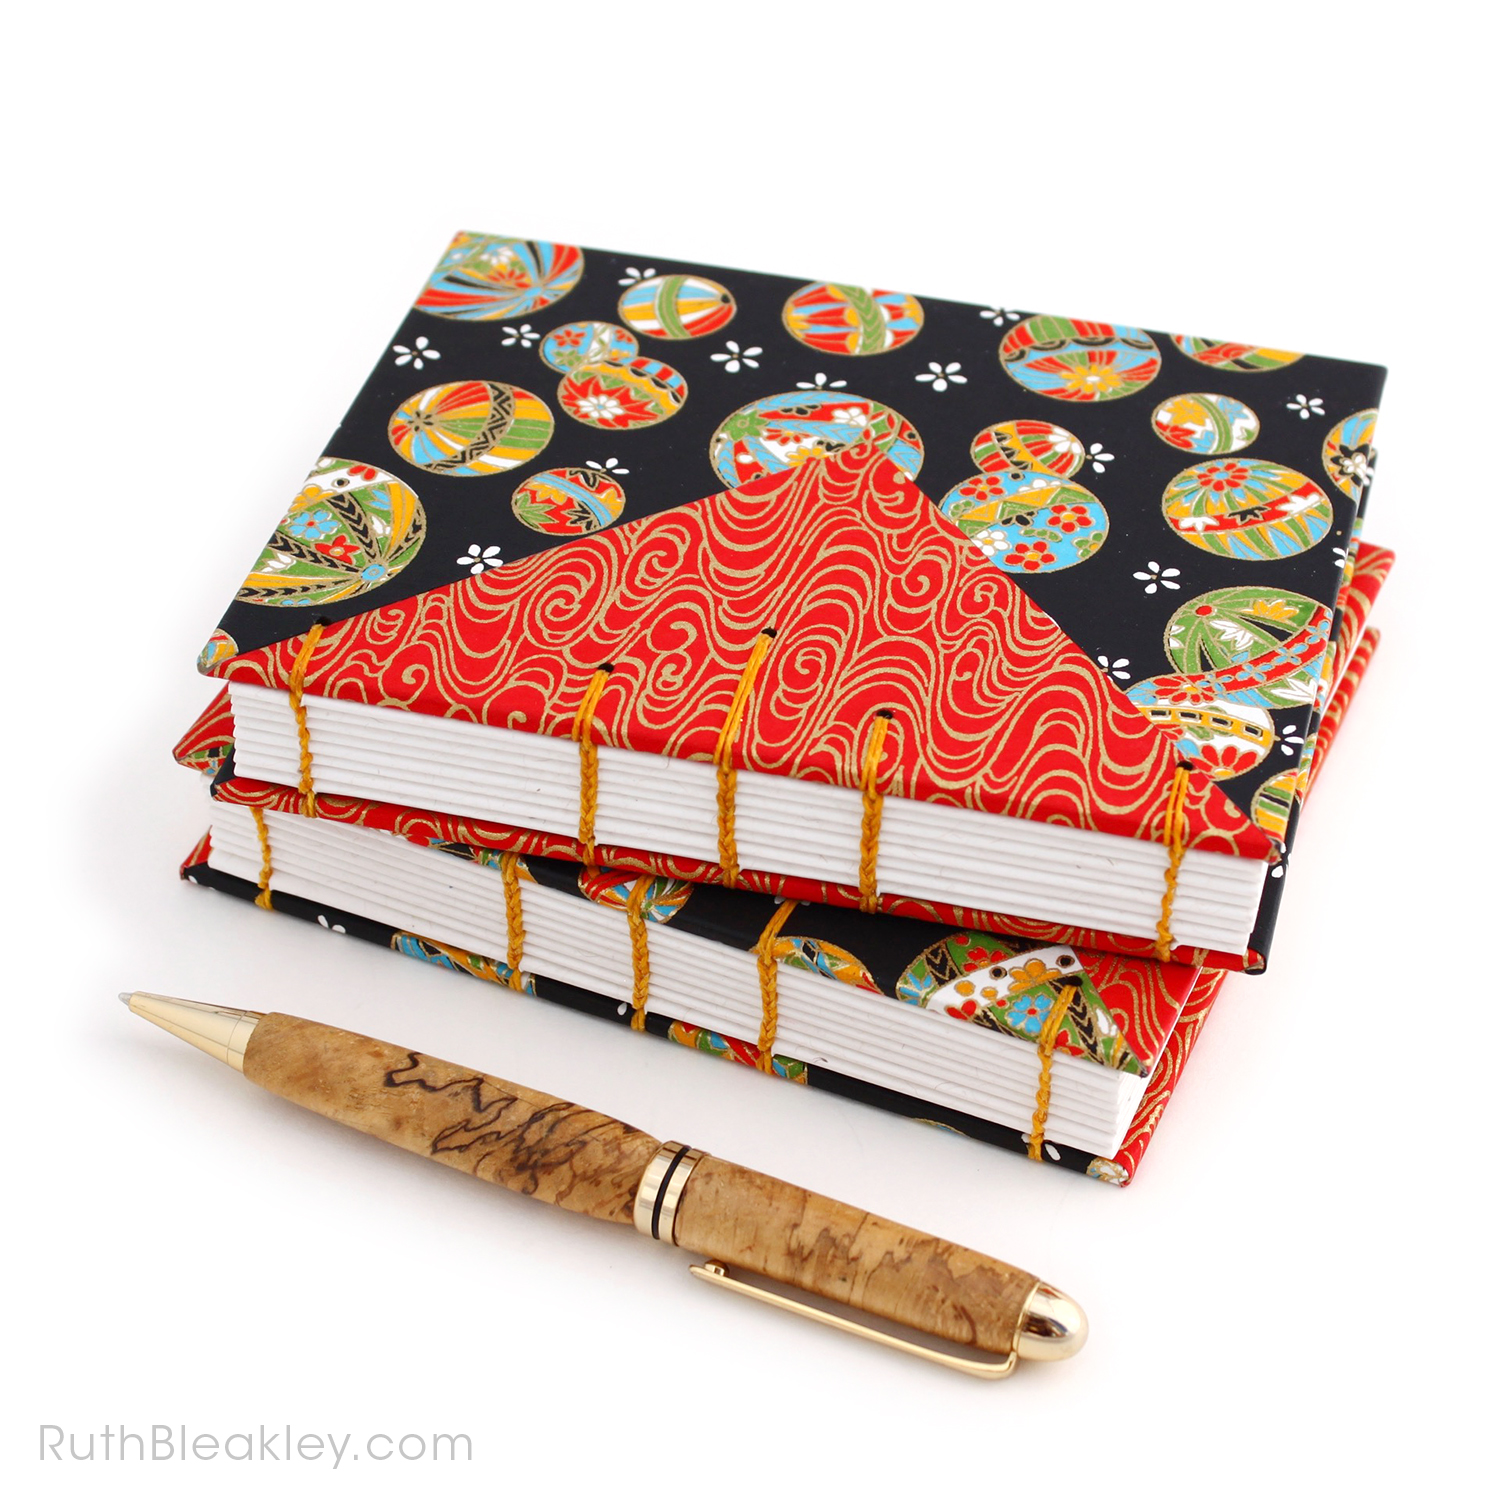
These handmade Temari Ball journals are kind of meta-handmade, because not only is the Chiyogami cover paper handmade in Japan, the colorful toy balls on the cover are also a depiction of a beautiful Japanese handicraft called Temari (手ã¾ã‚Š) Balls. Temari translates as “hand ball” and supposedly were sometimes used in games, but the idea […]
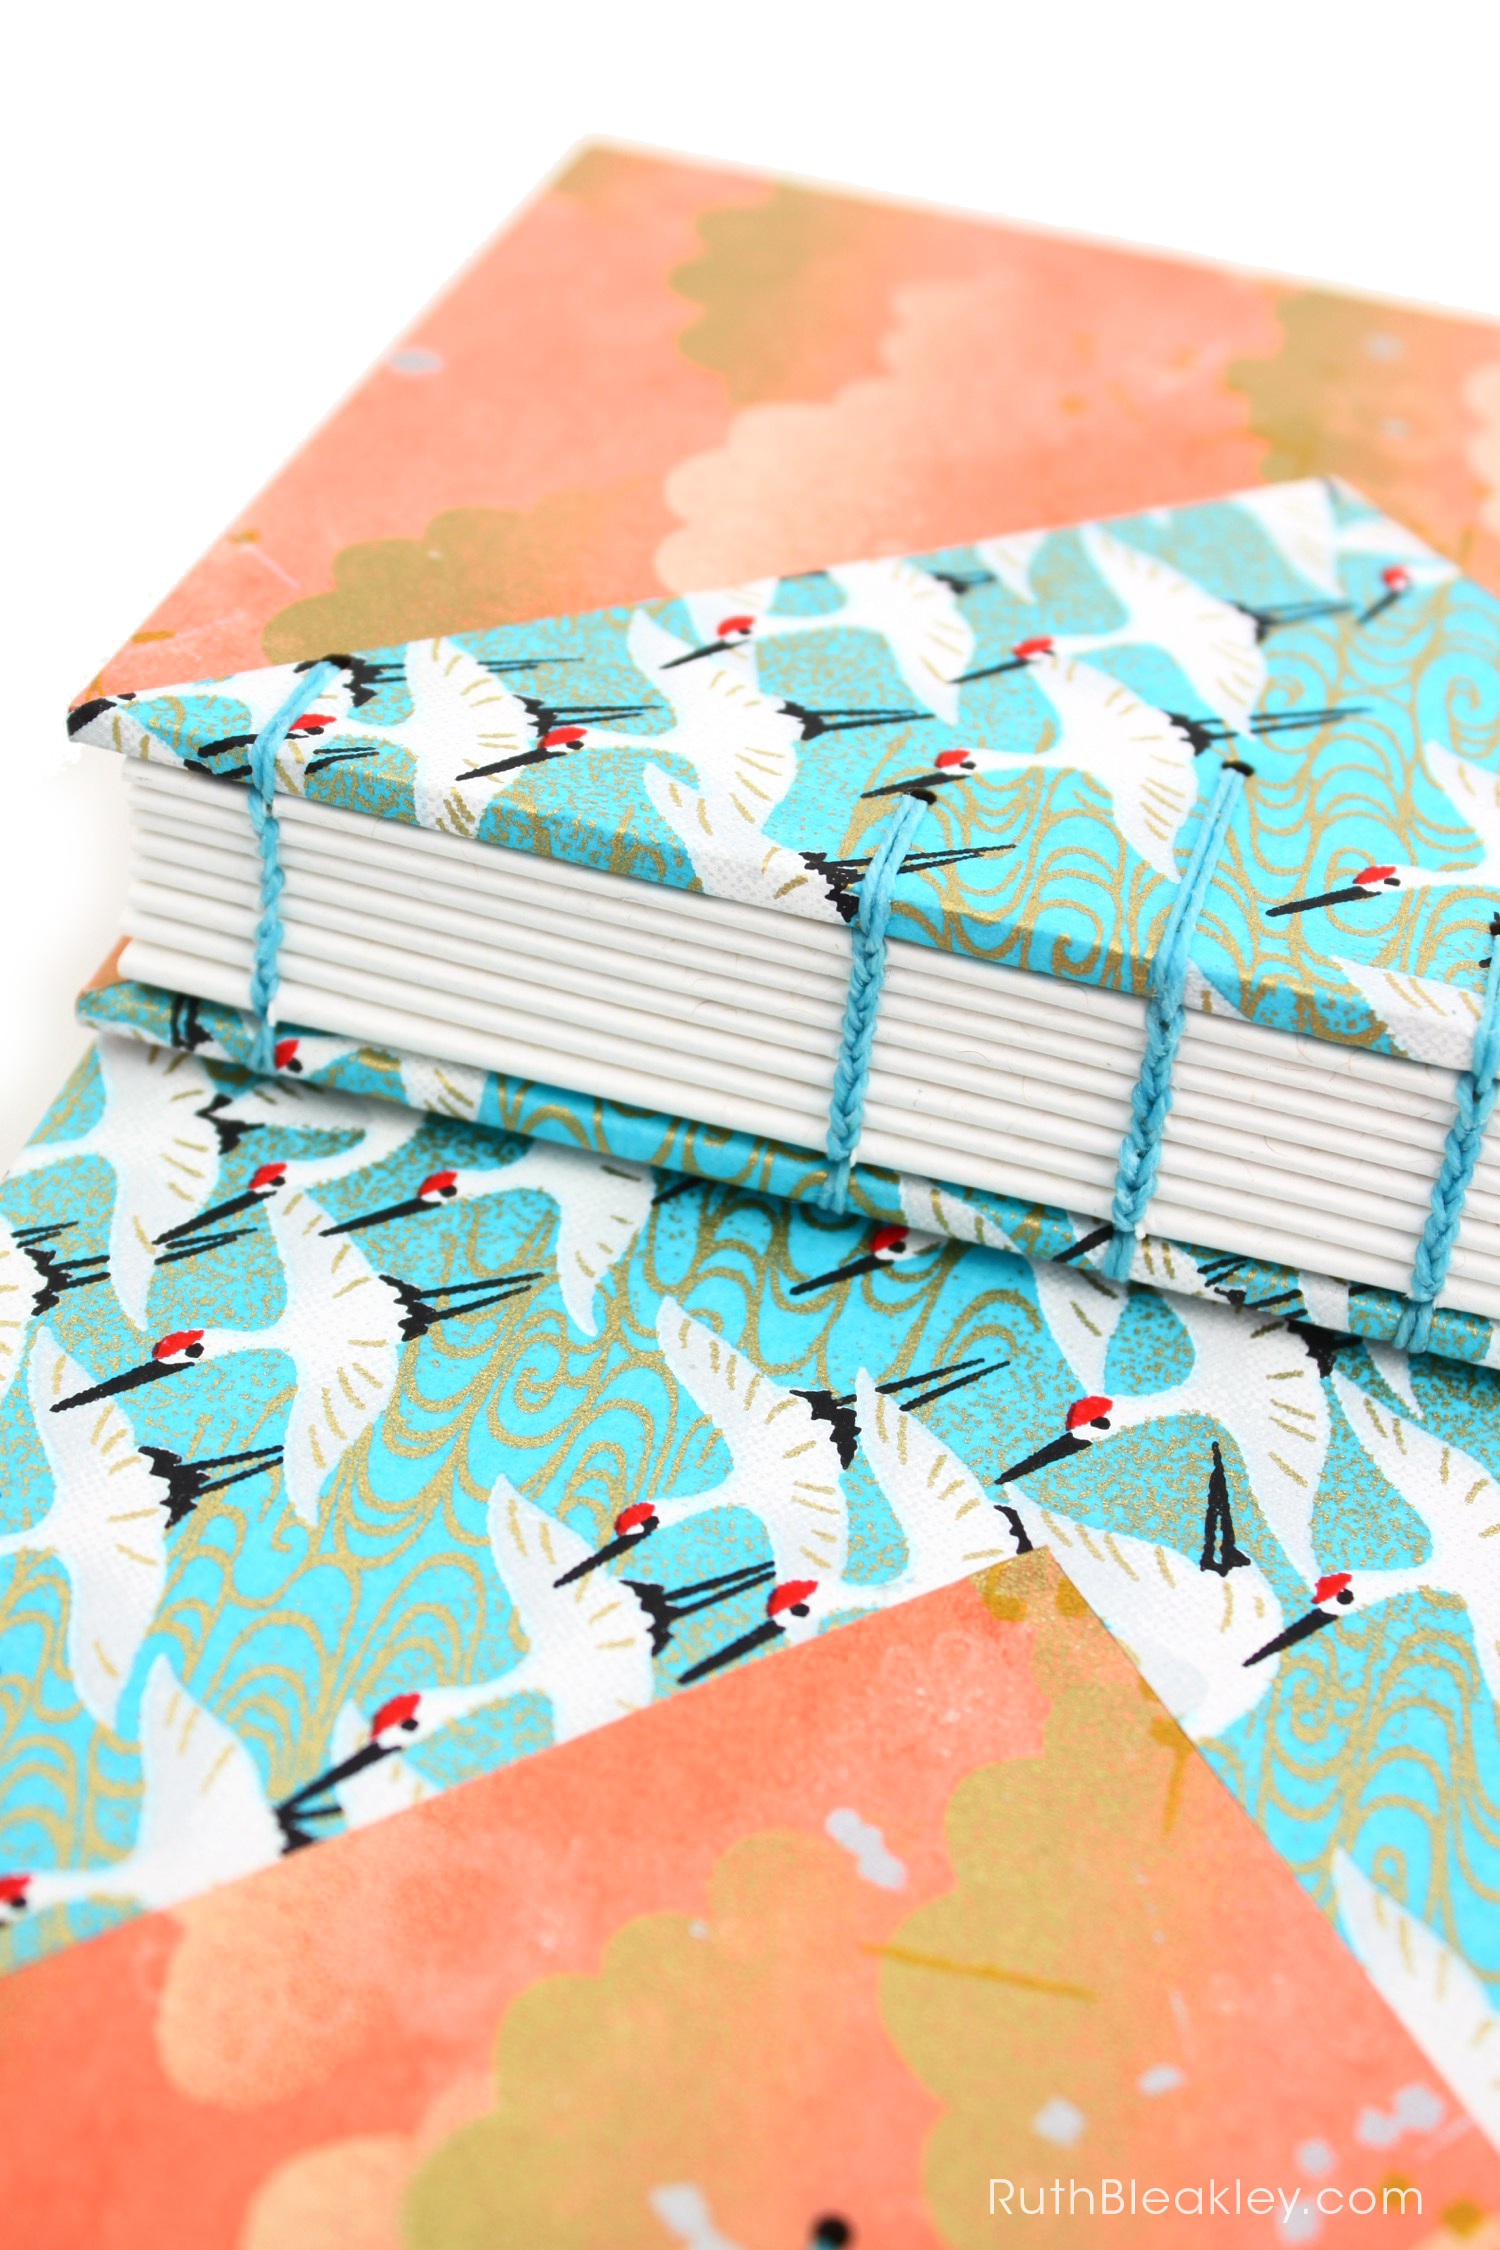
This gorgeous crane paper is one of my new favorites! A big flock of white cranes flies across clear aquamarine sky, with golden swirling clouds. The aqua color perfectly compliments the other paper I used here, a vintage chiyogami pattern of golden clouds on a peach sunset sky. If you look closely you can also […]
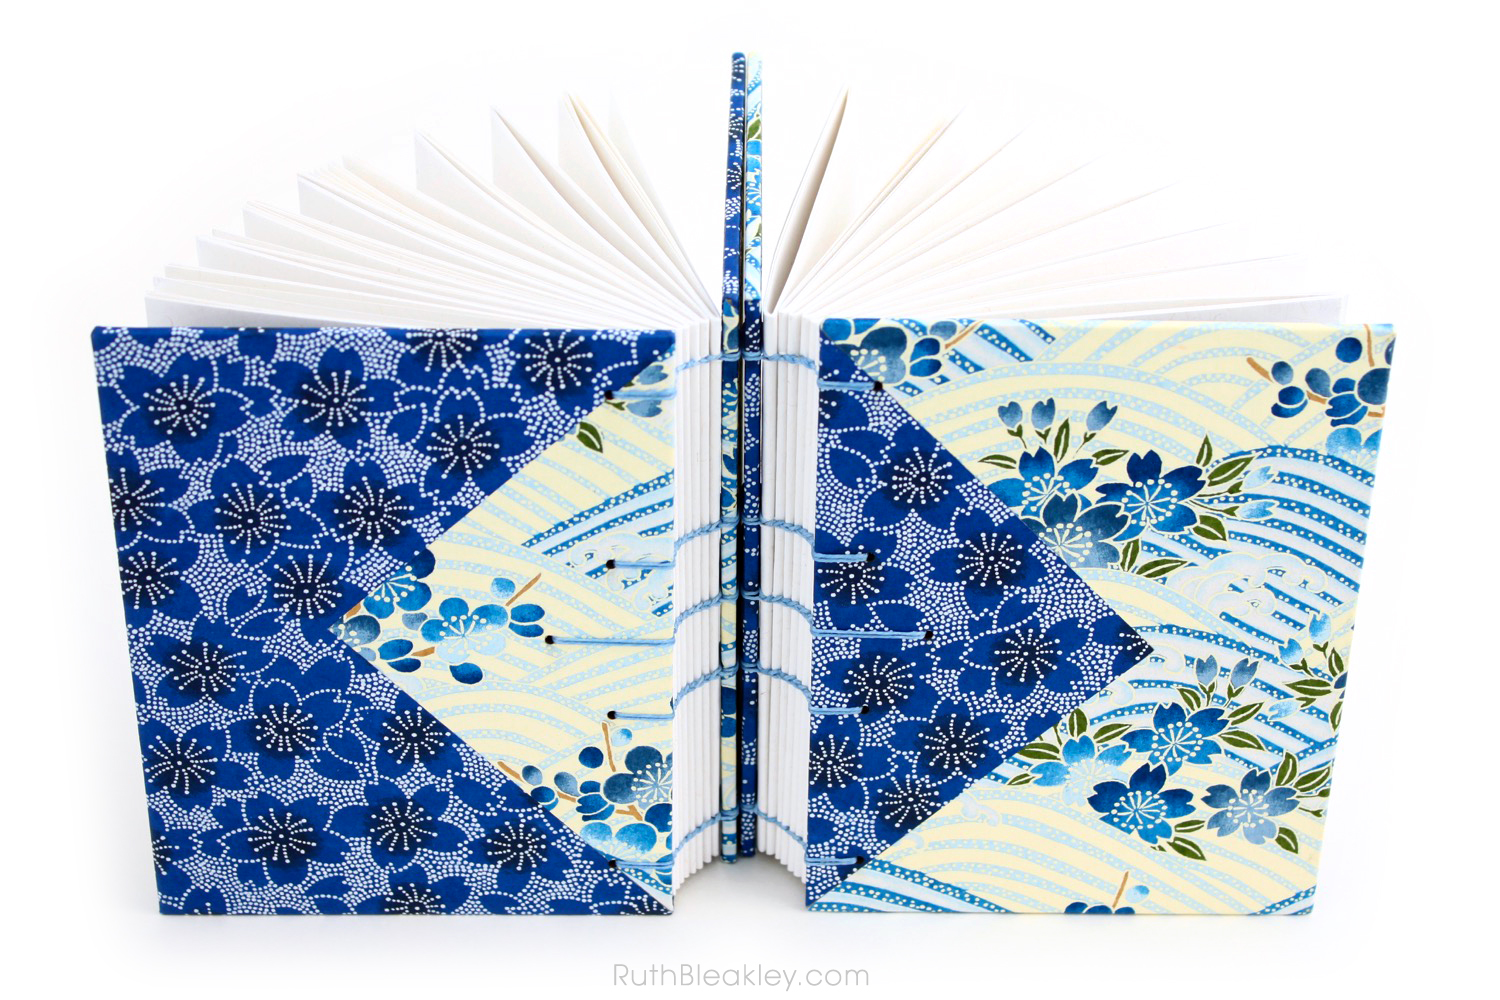
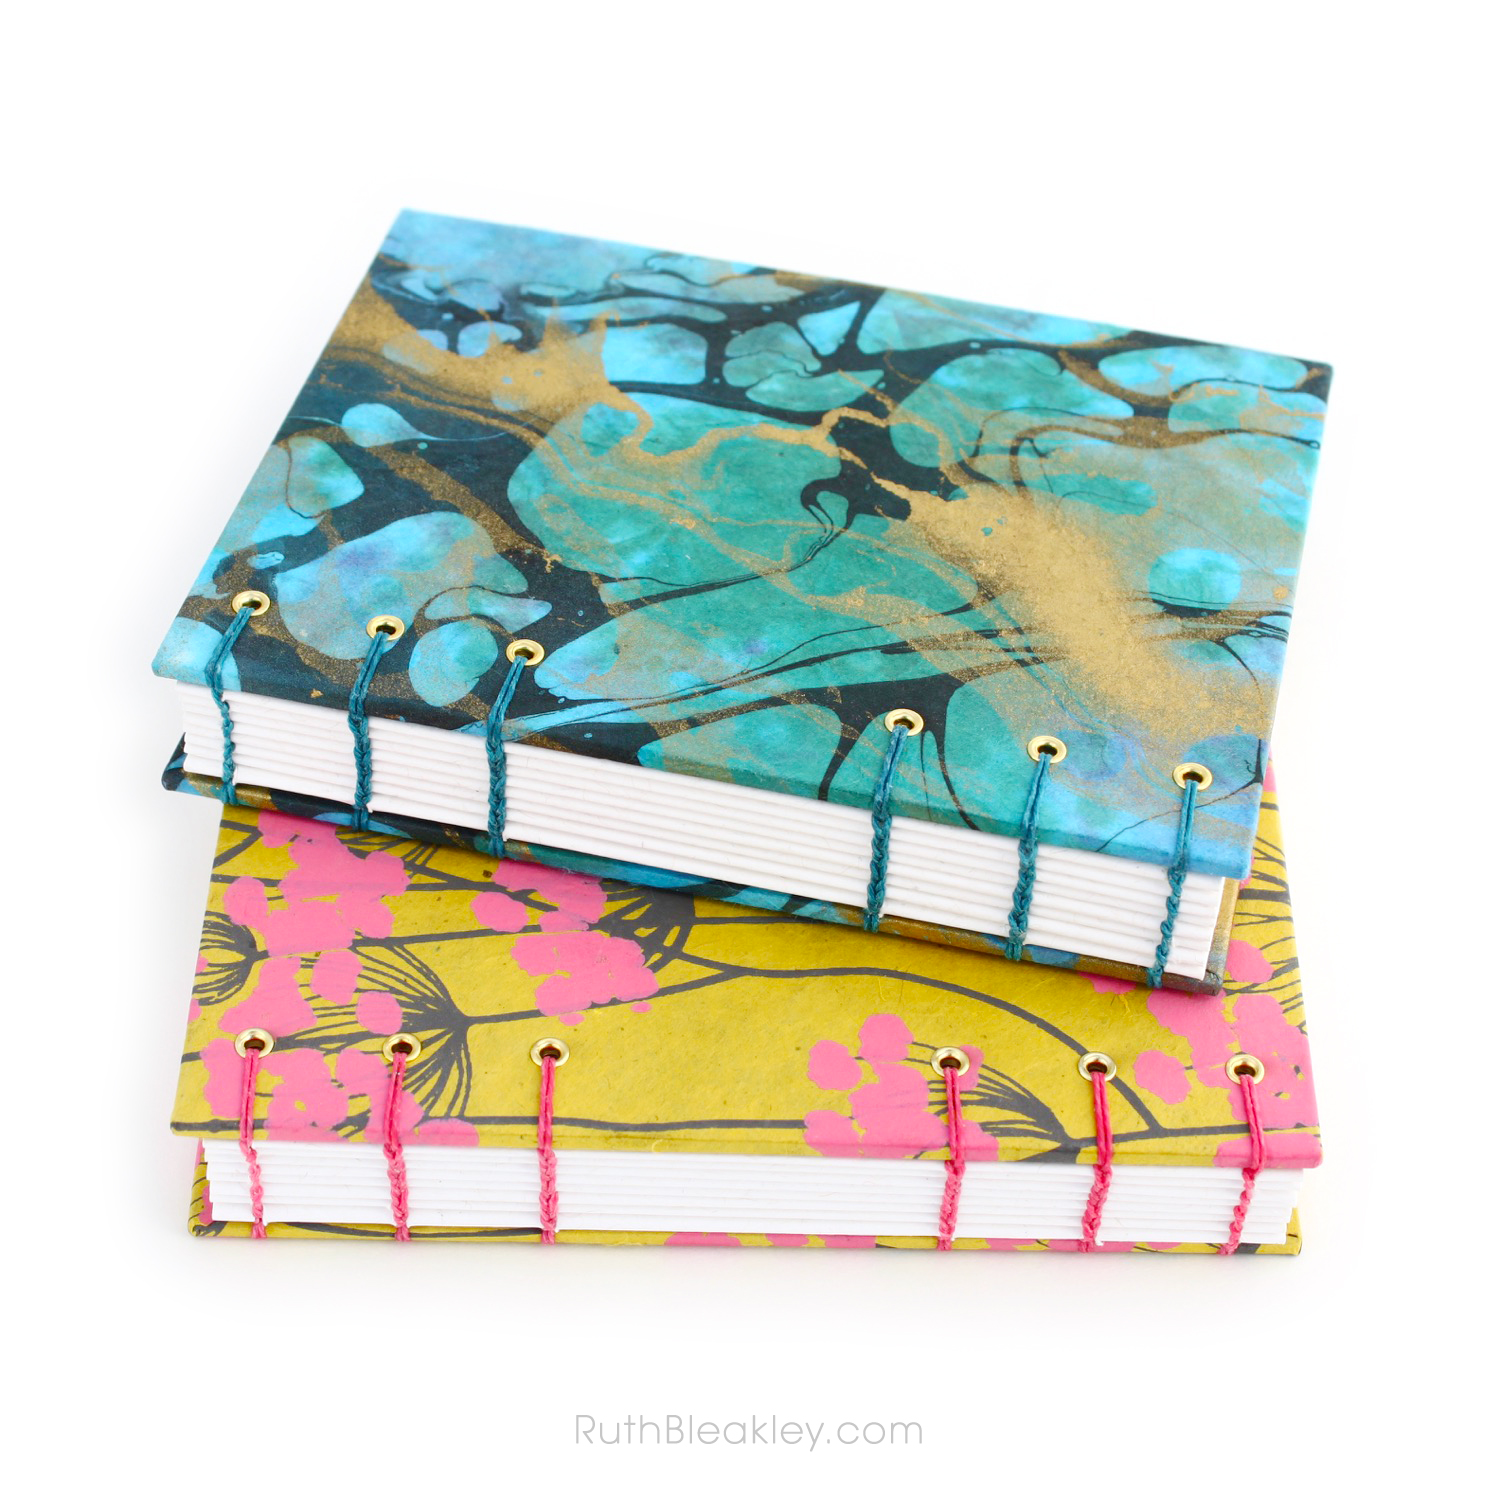
Don’t you love how the cherry blossoms coordinate on the two pieces of paper I used on the covers of this “twin journal” ? If you use chiyogami or yuzen paper as often as I do, you start to see trends and themes emerge. (All of a sudden I just pictured someone talking about the […]
Feast your eyes on the rich, saturated colors of these beautiful lay-flat coptic stitch journals that I finished last week. In addition to Japanese Chiyogami paper, I also made a couple journals using some of my favorite new papers featuring hand marbled and hand stamped designs. While their patterns are totally opposite, something about the […]
I want to show off some lovely pastel rainbow journals I made using Boko Undo Suminagashi inks (affiliate link) – and before you leave a comment, YES they are very light in color once they dry! If you are looking for bold, vibrant colorful marbled paper, you need to try a different style of marbling […]
Summertime memory: coming back from the beach during the heat of the day to eat ice cream sandwiches and watch “Saved By the Bell” reruns at my grandparent’s house. And now I live in the same house! But…no TV…and also I’m lactose intolerant now, so no ice cream. But hey, one out of three ain’t […]
Paper from West Palm Beach While I didn’t marble the paper on this book cover myself, I won’t forget where I bought it from. It was a hot afternoon in September and we were driving past West Palm Beach for a follow up appointment for my husband’s Lasik eye surgery. We planned to stop at […]
Inspiration strikes… The thing I love most about these journals is how well the two black and purple papers go together, even though I aquired them years apart. This is certainly a case of me being inspired by my materials. When I get stuck, or run out of bookbinding ideas, a quick trip to (one […]
I’m so excited to unveil a new style of handmade artist book. It features a luxurious Japanese silk book cloth cover, with precision circle inlay that features stunning, one-of-a-kind marbled paper. I like the idea of a book containing a hidden surprise, so I used the same beautiful paper for the inside endpapers as well. […]
This is a very special journal I made all in one go. By that I mean, I was “in the crunch” for at least 8 hours putting the finishing touches on it, adding gold leaf, cutting out birds with an exacto knife, hand-painting in tiny bird beaks. Also somehow I managed to make it without […]
These handmade Temari Ball journals are kind of meta-handmade, because not only is the Chiyogami cover paper handmade in Japan, the colorful toy balls on the cover are also a depiction of a beautiful Japanese handicraft called Temari (手ã¾ã‚Š) Balls. Temari translates as “hand ball” and supposedly were sometimes used in games, but the idea […]
This gorgeous crane paper is one of my new favorites! A big flock of white cranes flies across clear aquamarine sky, with golden swirling clouds. The aqua color perfectly compliments the other paper I used here, a vintage chiyogami pattern of golden clouds on a peach sunset sky. If you look closely you can also […]
Don’t you love how the cherry blossoms coordinate on the two pieces of paper I used on the covers of this “twin journal” ? If you use chiyogami or yuzen paper as often as I do, you start to see trends and themes emerge. (All of a sudden I just pictured someone talking about the […]
Feast your eyes on the rich, saturated colors of these beautiful lay-flat coptic stitch journals that I finished last week. In addition to Japanese Chiyogami paper, I also made a couple journals using some of my favorite new papers featuring hand marbled and hand stamped designs. While their patterns are totally opposite, something about the […]