“NIPPON NI IKITAI!!” – this part of a series of posts and I highly recommend you start from the beginning of this crazy story: Re: Japanese media inquiry, Possible Filming Request
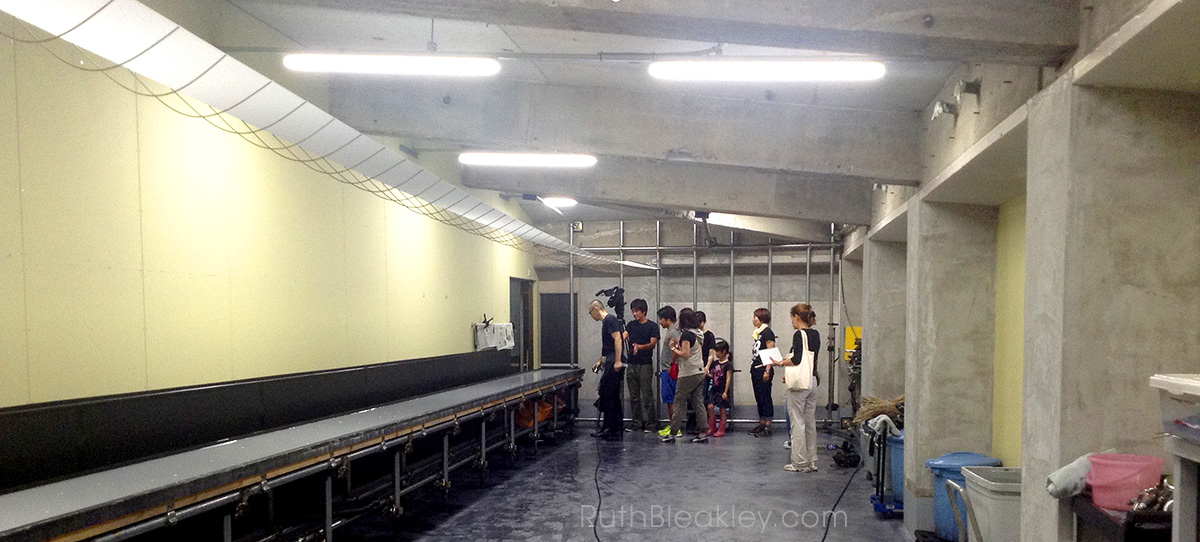
We walked down the hallway, past the paper marbling room, into a huge room, with an enormously long, narrow marbling tray in it!
In the Sensei’s studio (Sensei means master or teacher) was a 12 yard long metal tray, filled with the same marbling liquid (called “size”) that he used in his “smaller” paper marbling tray. I noticed it was about twice as thick, and a very pale gray color, with the light gleaming off of it.
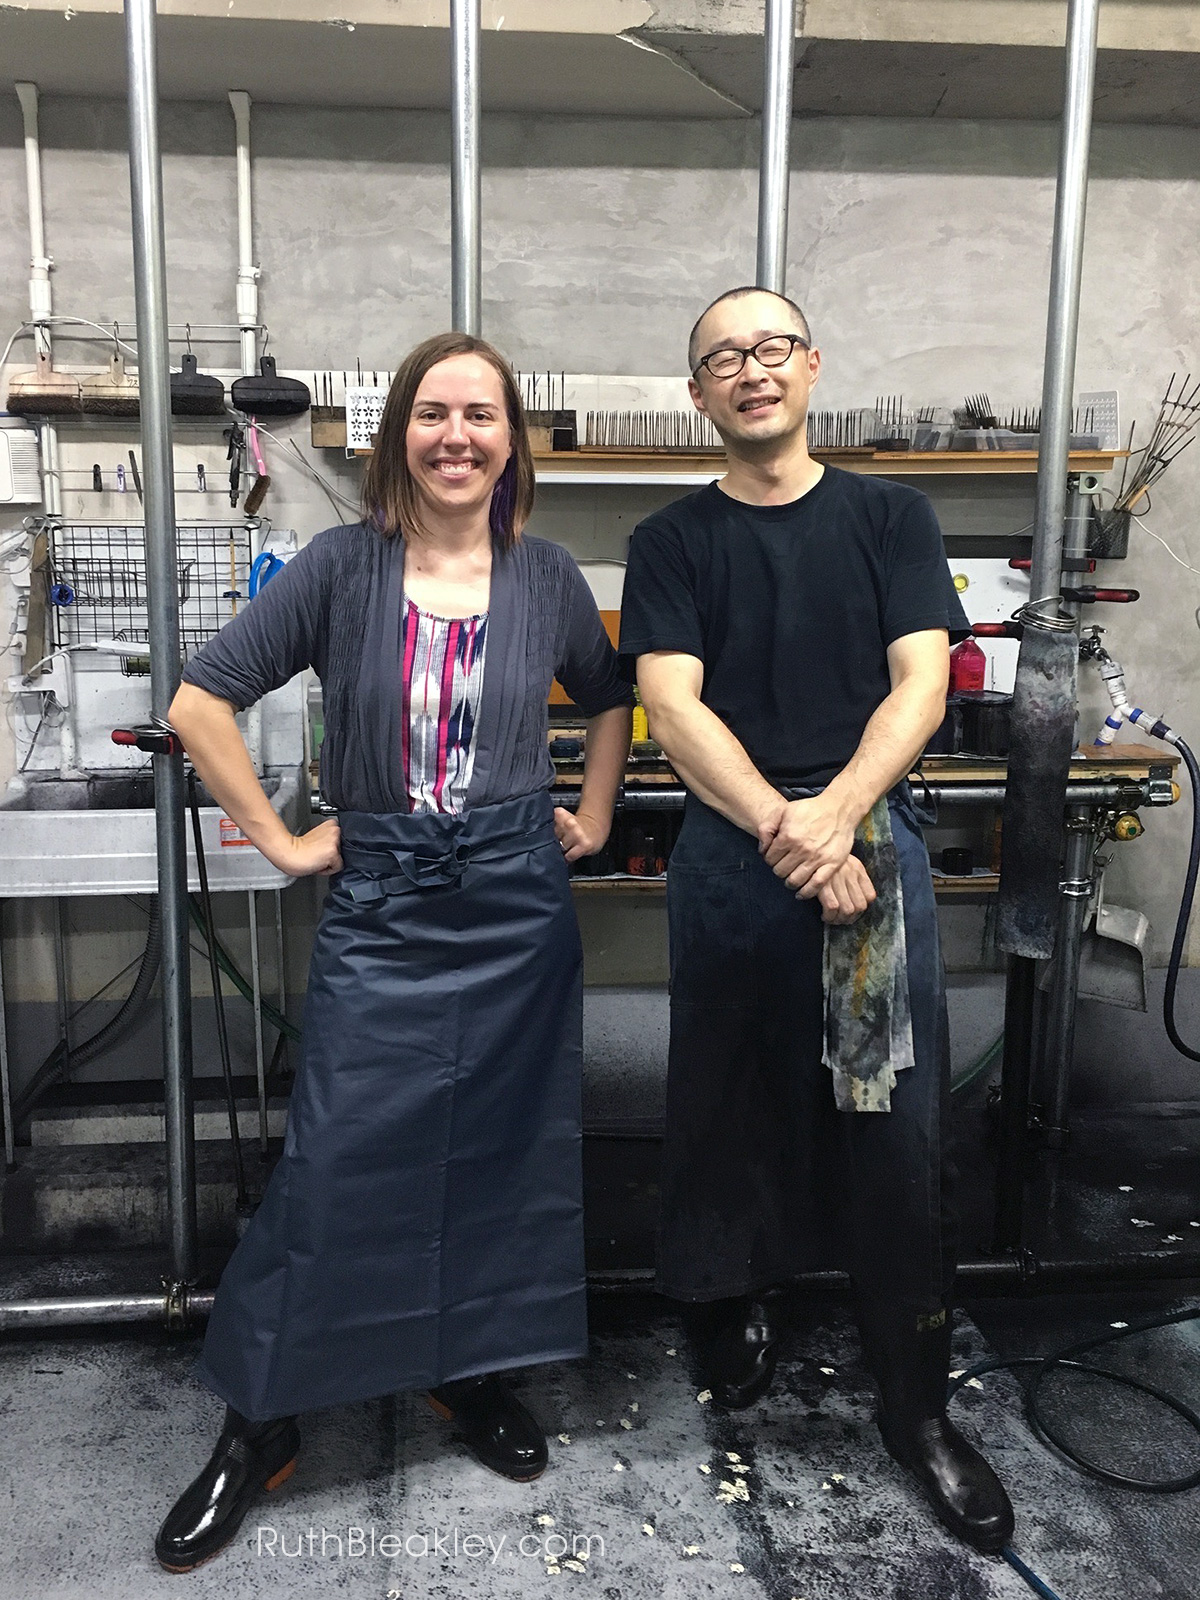
Everything in the studio was a little bit wet – the floor especially, so I had to put on rubber boots, stuffing my dressy pants into the top, and don a vinyl apron to keep my pants clean. In addition to keeping my clothes clean, this provided my own personal sauna! That would have been great if the weather was cool, but instead it was a balmy 83 degrees, and all of the windows had been closed and the fans turned off…and I’d soon find out why!
“What do you think that the sensei makes in this studio?” asked the director, “fabric?”, I guessed. Turns out that was a good guess, and not just any fabric, but silk kimono fabric! The marbling tray was so long because it had to accommodate one entire bolt of silk kimono fabric – I’ll let Wikipedia explain:
Kimonos are traditionally made from a single bolt of fabric called a tan. Tan come in standard dimensions—about 36 centimetres wide and 11.5 metres long[5]—and the entire bolt is used to make one kimono. The finished kimono consists of four main strips of fabric—two panels covering the body and two panels forming the sleeves—with additional smaller strips forming the narrow front panels and collar.[5] Historically, kimonos were often taken apart for washing as separate panels and resewn by hand. Because the entire bolt remains in the finished garment without cutting, the kimono can be retailored easily to fit another person.
So in order to achieve a consistent marbling pattern throughout the garment, the entire bolt must be dyed at once! Talk about high pressure.
 The steps to prep the fabric for dyeing included placing pointy metal-tipped flexible skewers about 6″ apart down the length of the fabric, causing it to spread apart due to tension – the sensei and his wife were careful to place the metal tips only on the selvedge edges on both sides of the bolt. They let me try, and in the time it took me to place about 12 of the skewers, they were almost done!
During this time I asked “How much does one bolt of undyed fabric cost?” and they said it costs several hundred dollars! wow! I handled it even more gingerly after that… don’t drop it!
After setting all the skewers in the fabric, it was hoisted into the air, suspended from a clever winch pole device that the Suminagashi master had devised himself. He said he generally works alone, so he’d rigged a bunch of shortcuts to help him do the printing on his own. It was quite generous that he allowed the film crew into his studio to record the process. Many artists (including myself, admittedly) don’t like to reveal all the processes that they’ve come up with throughout their years of practice, so I felt really lucky to see the behind-the scenes of Mr. Yamazaki at work.
Using an airbrush, Mr. Yamazaki distributed his marbling inks in a well-practiced motion, swinging his arm back and forth over the 12 yard long marbling tray walking with a shuffling step and a look of pure concentration on his face. After making one pass with a color, he refilled his airbrush with a second color, then a third, testing and adjusting until the droplets were just the right size to uniformly disperse in the way he wanted.
Then it was combing time – I was pleased to learn that Mr. Yamazaki also made his own marbling combs from toothpicks and pieces of thin wire that he cut and then stuck into foamcore and cardboard. See, even the professionals improvise! He also didn’t seem to rinse them off after use because they were black with ink!
He took his combs and made elaborate patterns going back and forth over the ink until everything was amazingly uniform from end to end, and then it was time for printing!
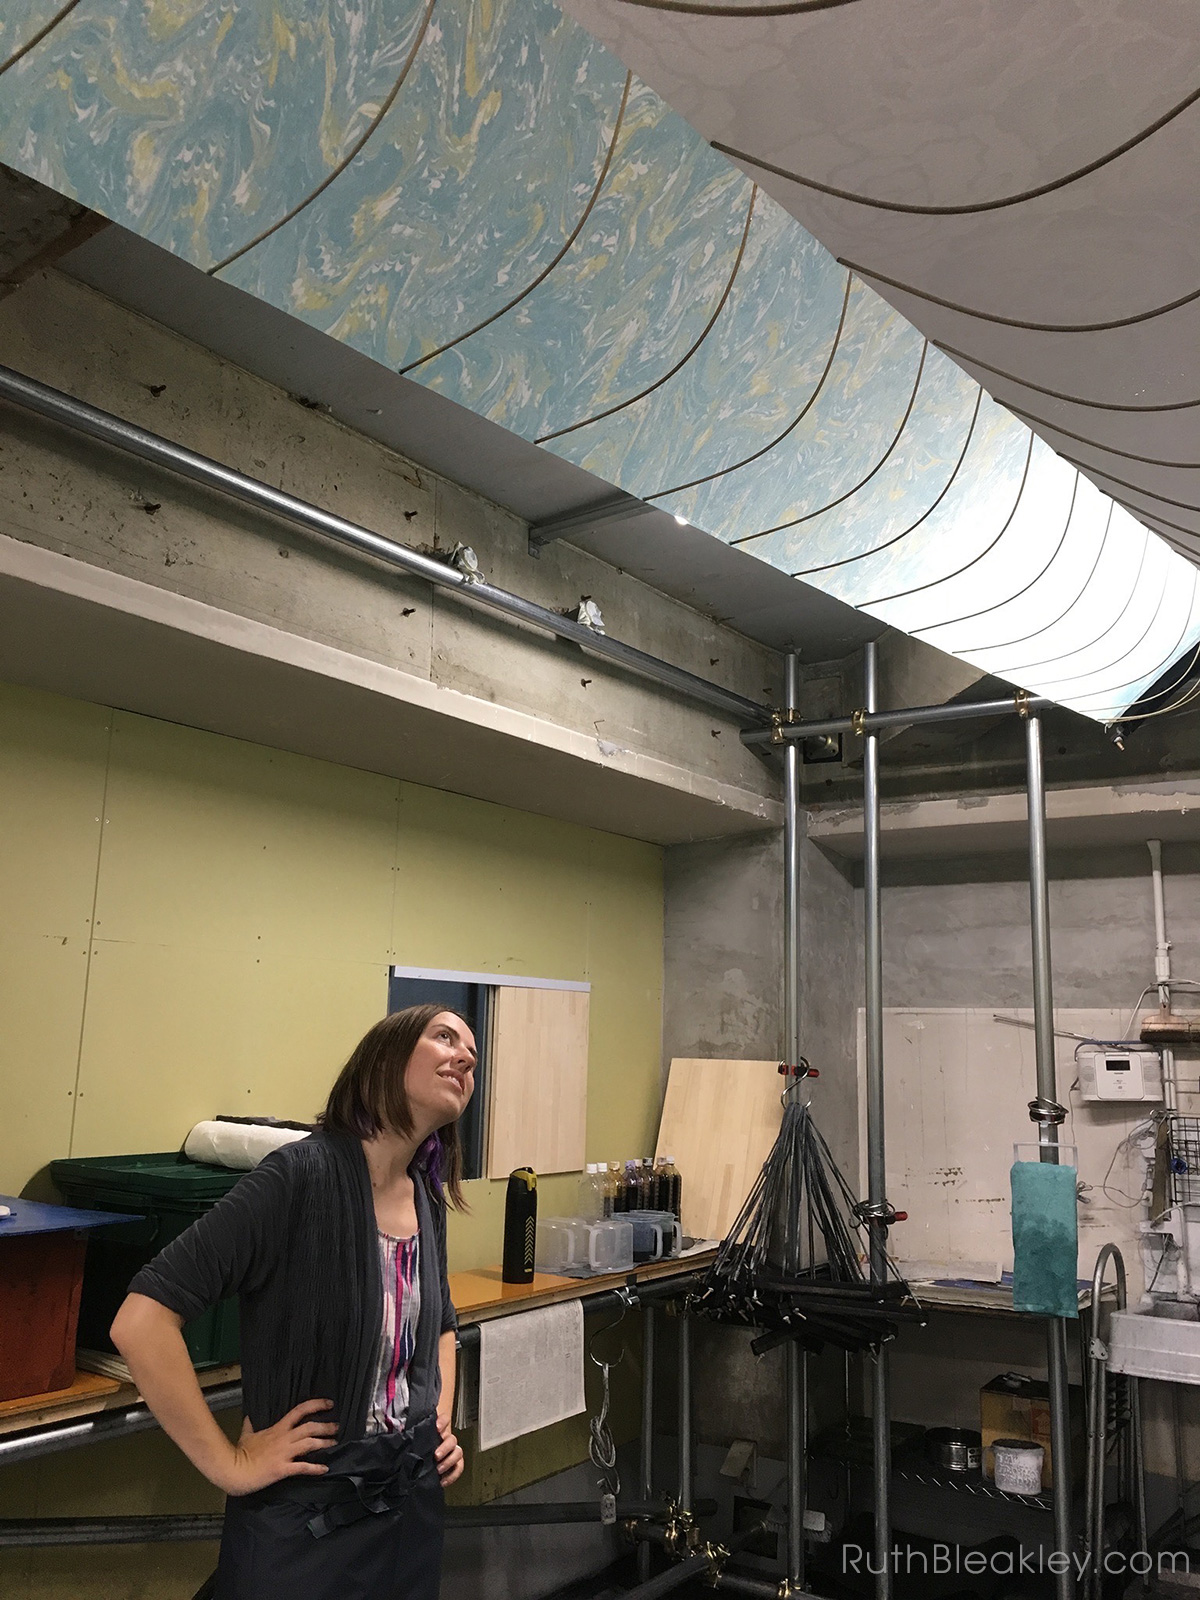
The fabric was suspended like a kite over the top of the marbling tray – he lowered one end on his pulley system until it was touching the marble, and weighed it down. Then he went to the far side of the room, and having me count down (ONE TWO THREE!) he lowered the end of the silk closest to me and *viola!* the entire piece of silk came down in one smooth motion, printing absolutely perfectly, with no bubbles, hesitation marks or smudges! With marbling there is only ONE chance to make the print, because once the ink touches your paper or fabric, it’s instantly a adhered to it (just like if you blot up some coffee with a napkin – that’s not coming out of the napkin!). It was just stunning to watch 12 yards of fabric being marbled at once!
After the fabric was marbled, he moved it with his pulley system to another post, and rinsed it off with a regular old garden hose and sprayer! Ah ha! Now I understood the need for the big rubber boots and apron!
He demonstrated on two more pieces and at this point I was feeling a little bit faint from the time difference and the  heat in the room, which was stifling with all the windows closed up and not a single breath of air to cool me (or mess up the delicate floating ink design).
All of a sudden I realized that the cameras had turned back to me!
“Please, Ruth san, now it’s your turn!”, exlaimed the director –
“What? I mean, I’m sorry, – my turn?”
“Yes, you will make fabric!”
Well you could have knocked me over with a feather, how in the world was I going to repeat this crazy process?? The best part was, as my translator turned and relayed this information to Mr. Yamazaki a fleeting, but unmistakable, look of dismay came across his face – perhaps they didn’t tell him about this great TV-gold moment either?
“Oh no, no, I couldn’t, I wouldn’t want to waste the Sensei’s precious materials”
A rapid back-and-forth with the sensei ensued and the director turned back to me with a big smile on her face –
“We have assured the Sensei that we will be financially responsible for your materials…SO DO A GOOD JOB!”
“umm, ok”
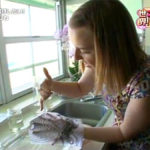
“You have ten minutes to come up with your design, please, here are the materials! Go!” and with a shooing motion, she sent me off to stare at the wall of colors and combs.
I have to admit that as a feeling of horror crept over me and I leaned against the sink where I was to invent a combing pattern out of thin air using the tools and colors at hand, I nearly burst into hysterical laughter. Was this all a strange nightmare?
Most creative people I know perform best NOT under pressure, NOT under the watchful eyes of two cameras, not in a sauna-like heat in someone else’s studio, using someone else’s tools where no one speaks the same language as you and above all being told “DON’T MESS UP!” (actual words that were spoken to me, possibly as encouragement?…I’m going to pretend it was encouragement)
I took a deep breath and rallied. I summoned all of my confidence and said to myself, “OK! Time to get serious! Thank God you have an art degree! You know how to use all sorts of tools and come up with color coordinating patterns! Everything in your life up until now has prepared you for this moment! Remember the time you set up your own mini marbling studio in your kitchen 6 years ago? It’s just like that! only…times…ten…I mean…one hundred – plus if you mess up it will help the viewers realize what a tricky job this is! Also no one here knows you! haha!”
(on a total aside, if your inner voice offers criticism instead of encouragement, work on that! The only person you can make happy is yourself, and if you don’t think that you’re worth anything, who else will think you are? Negativity can become a habit, and if you look at it that way you can work on changing it, and yourself, for the better)
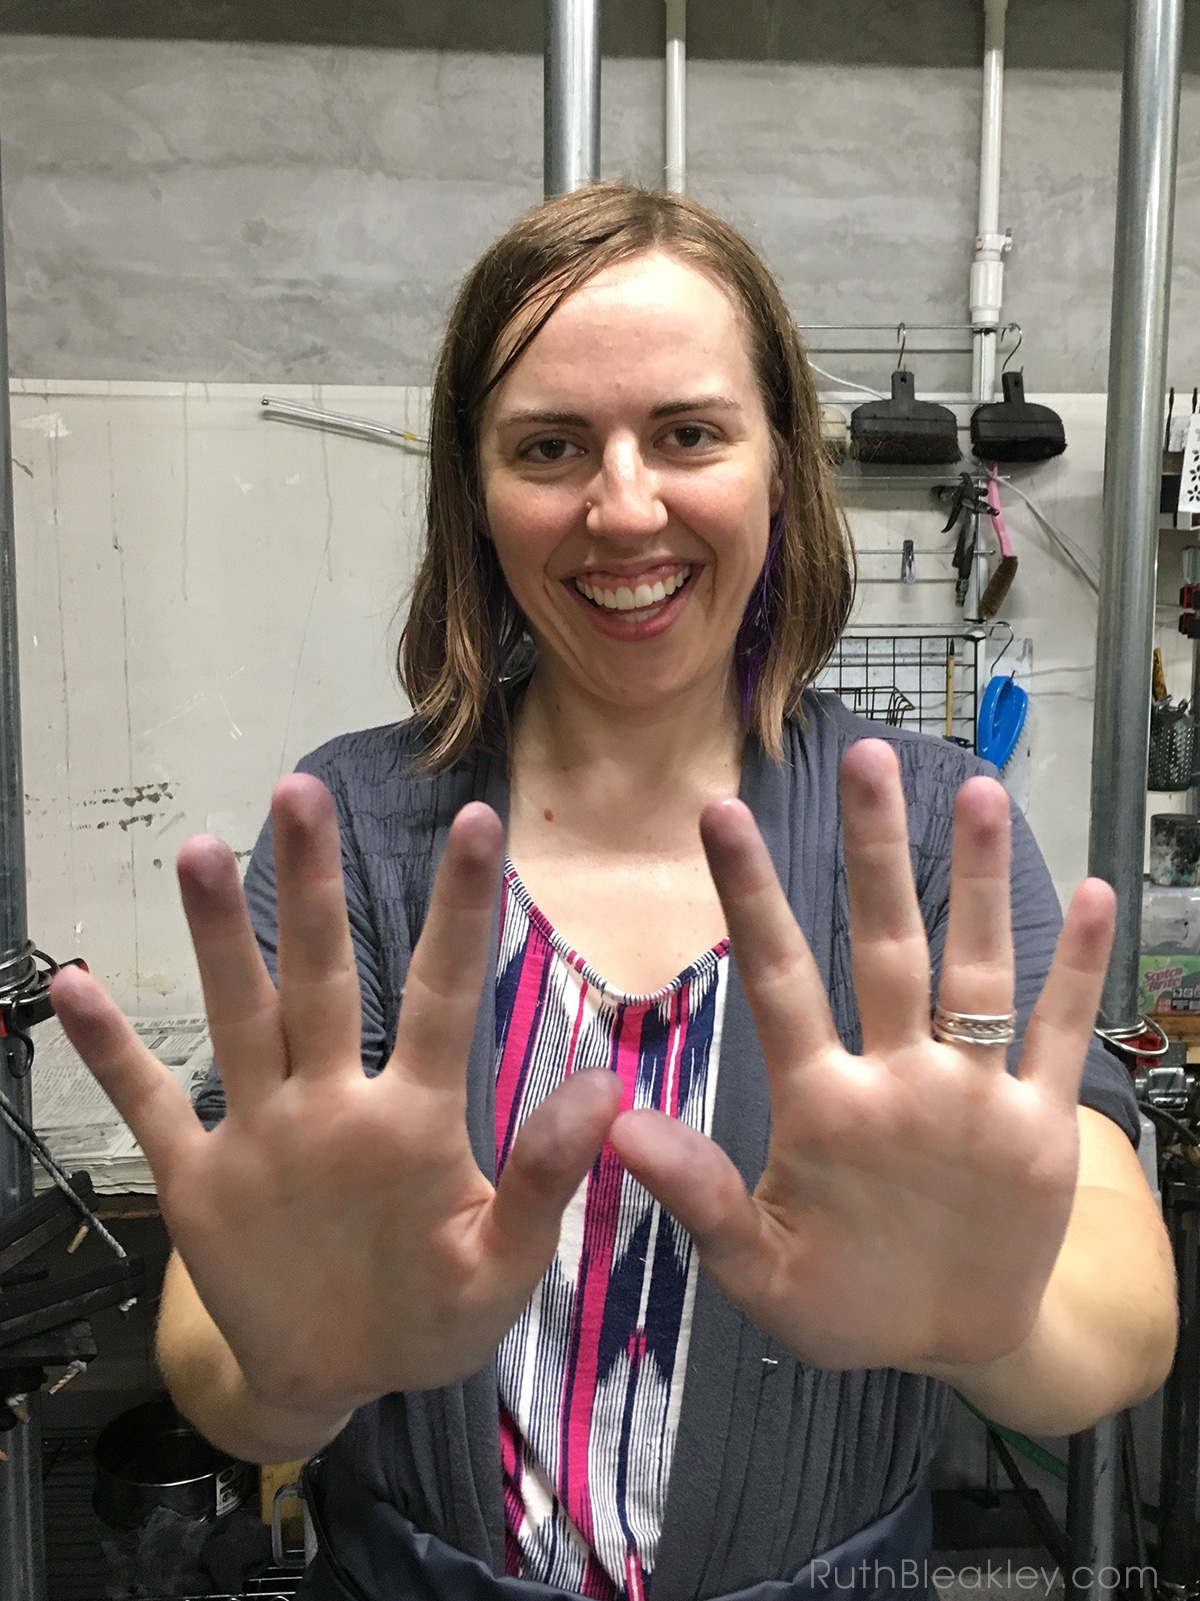
I picked out my three colors, purple, green, and blue, dropped them in the order I wanted on the tiny sink tray they provided me, and combed through a couple patterns, picking one that I’d hopefully remember on a much larger scale and then presented it to the crew. (Note: I make this all sound so easy!)
“Hmmmmmmmmmmmm”, Said the director, scratching her chin and eyeing me speculatively, “are you sure those are the colors you want?”
“what??”, I thought to myself, “are you kidding me?”
“…yes?”, I said
“Just remember Mr. Yamazaki has to sell this! You want to make sure it is the best!”
I think I did let out a laugh at that part because this was was getting all too comical – “yes, I’m sure! They’re my favorite colors and they go nicely together, let’s do it!”
I was relieved to hear that I wouldn’t have to apply the colors myself – Mr. Yamazaki evenly coated the marbling surface with the colors in the order I chose, and then it was my job to comb it!
“ok! If everyone could please not ask me any questions, I want to concentrate on this part!” – this was the part where things could go really wrong! One false step and the design would be un-fixable and the whole 12 yards would have to be re-done!
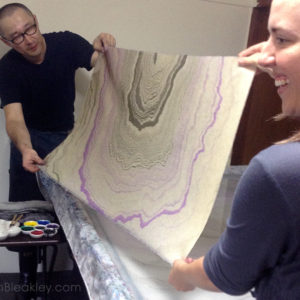
How did it come out? Maybe you’d like to see for yourself!:
One of the tensest, on-the-spot moments of my life, and it worked out beautifully! If that’s not a life lesson in and of itself, I don’t know what is.
NEXT: Paper Buying In Japan, the Adventure Continues!
Related Posts


Related Posts


1 Comment
[…] NEXT: The adventure continues…in the REAL STUDIO […]